Top 10 iOS App Development Companies in India
iOS apps for iPhones and iPads are essential for many users, serving needs from entertainment to business. India has become a key player in iOS app development, thanks to its […]

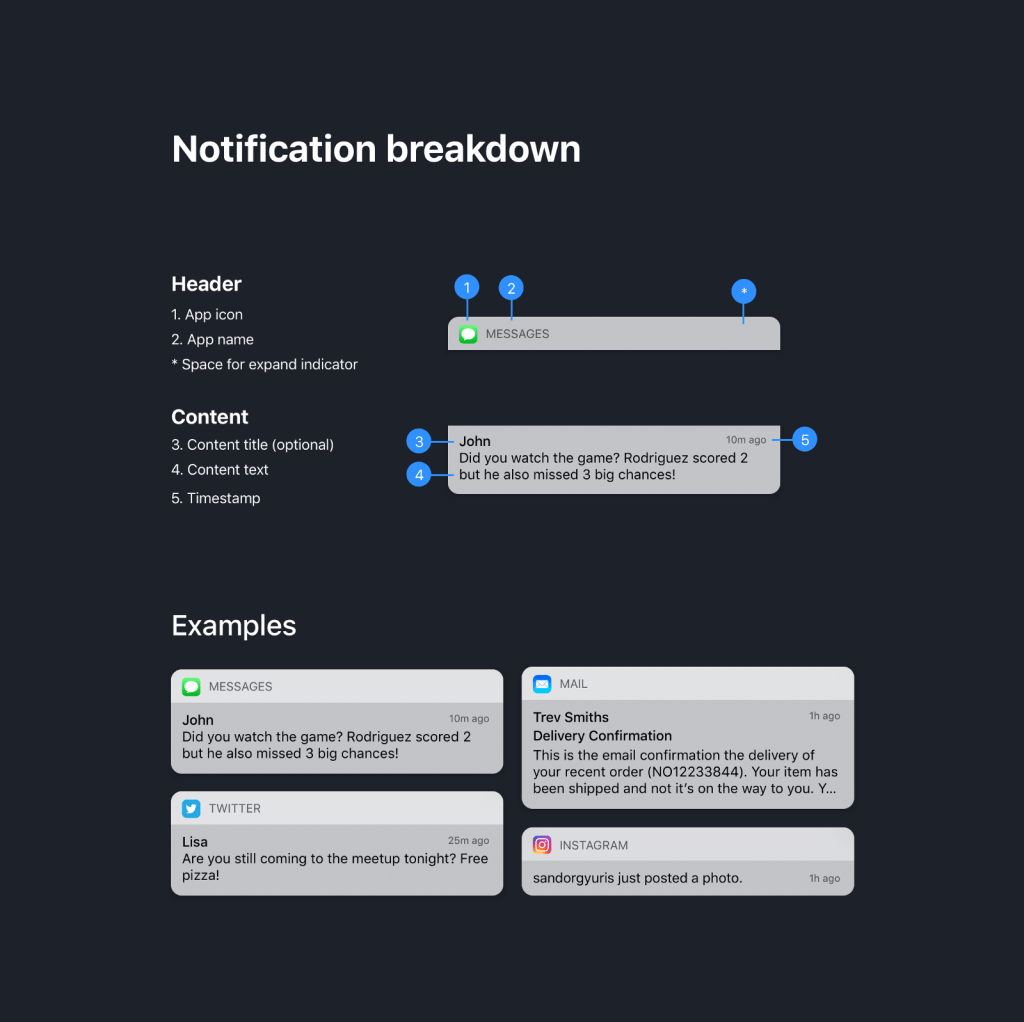
iPhone app notifications can become a hassle. User finds sorting through them really irritating and it eventually ruins the user experience. Notification appearance customization is hence a key element in empowering excellent iPhone app development.

Image credit: UX Collective
As an iPhone app developer you would like to streamline your notification experience, then do it in Apple style by customising your iOS app notification alert using the notification content app extension. It will allow user to have rich notification experience by enabling them to fully interact with the notification.

Image credit : Apple Developer
Use the view controller managed by notification content app extension to replace the default system interface in your notifications. it can be used to change the fonts and style of interface elements as well as add custom images to boost it from the branding perspective.
How to Add the Notification Content App Extension in Your iOS App
Choose File > New > Target in Xcode.
Select Notification Content Extension from iOS Application Extension.
Click Next.
Provide a name for your app extension.
Click Finish.
How to Add Views to Your View Controller
By adding views to your view controller you can build your custom notification interface.
You use labels for title, subtitle, and body text display of notification.
View Controller Configuration
To update the labels and other views Use the didReceive(_:) method of your view controller.
The configuration of the notification interface at the runtime.
func didReceive(_ notification: UNNotification) {
self.bodyText?.text = notification.request.content.body
self.headlineText?.text = notification.request.content.title
}
didReceive(_:) method will be called again with new notification payload when a second notification arrives while the view controller is already visible.
Declaration of the Supported Notification Types
When you specify the notification type for which, the interface will be provided by the notification content app extension then upon arrival of notification the category will value will be matched with the categories declared in all the notification content app extensions of your iOS application. If the match is found then corresponding app extension is loaded.
Configure the UNNotificationExtensionCategory key inside the Info.plist file of your notification content app extension using the category strings of the notifications that are supported by the extension. category strings are useful in segregating the notification types to be received by the app.
For Local notification–
Put category string inside the category identifier property of UNMutableNotificationContent object.
For Remote notification–
Put category string inside the category key of the JSON payload.
find more details about keys in your Info.plist file.
How to Hide the Default Notification Interface
The system displays some default information with every notification. In every notification, some default data is displayed by the system. A header is by default displayed by the system that includes the app name and icon. A developer has the option to hide it.
Notification interface layout with and without the default content.

You can remove the default system content by adding the UNNotificationExtensionDefaultContentHidden in the extension’s Info.plist file and set its value as true.
How to Incorporate Media Into Your Interface
A developer can incorporate the below to support playback of audio or video right from custom notifications interface.
Support For Interactive Controls
It is possible to enable user interactions in iOS 12 through your custom notifications. This will let you include buttons and switches to your custom interface for increasing the interactivity.
How to enable user interactions
First Open your Notification Content Extension’s info.plist file.
In your extension attribute Add the UNNotificationExtensionUserInteractionEnabled key and set its value as Yes


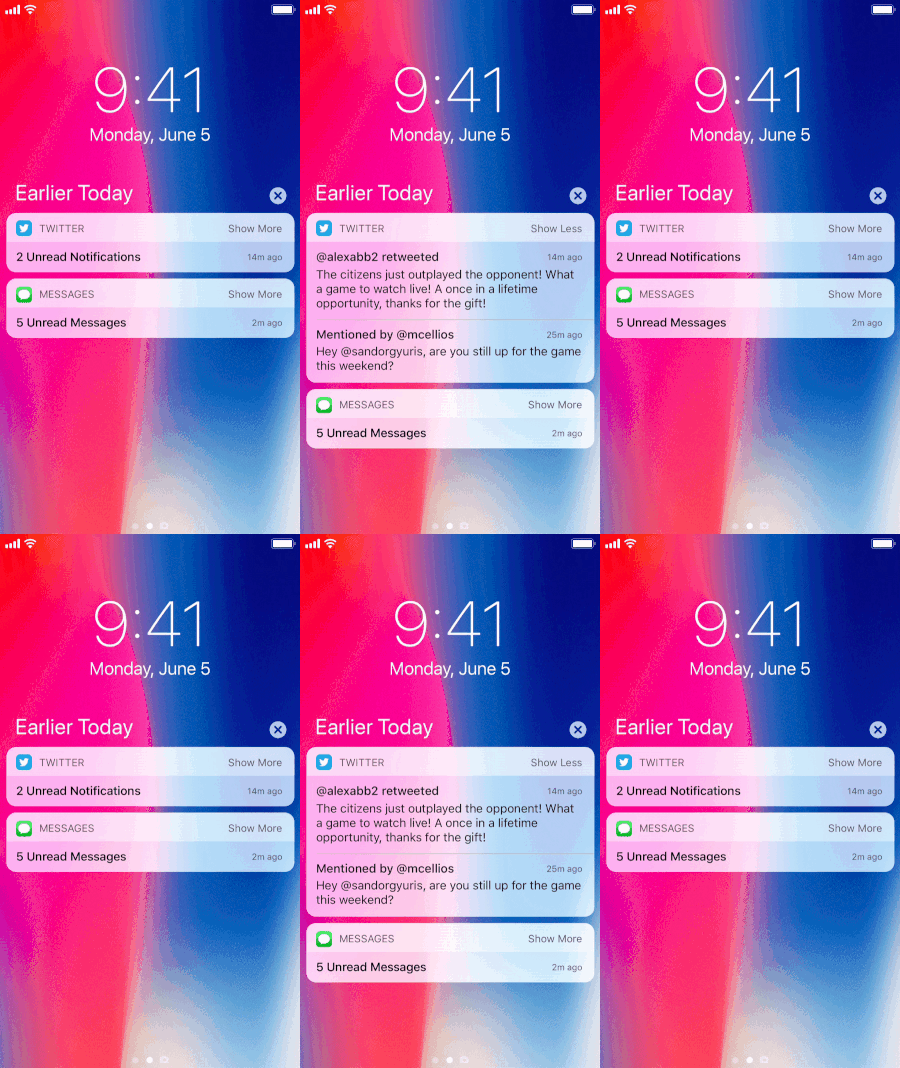
Image credit: UX Collective
Thankful to developer.apple.com for inspiring us write this article.
You may be interested in following
Jul 24th, 2025
iOS apps for iPhones and iPads are essential for many users, serving needs from entertainment to business. India has become a key player in iOS app development, thanks to its […]
Jul 3rd, 2025
When you picture an iOS developer at work, you probably imagine someone sitting in a trendy café, hammering away at a shiny MacBook. It’s almost become a stereotype — the […]
May 22nd, 2025
Developing an iOS app is an exciting venture. With over a billion active iPhone users worldwide, the opportunity to connect with Apple users is vast. But with opportunity comes complexity. […]